h1

Honey Tapestry Mittens

October 4, 2015

IMG_9960

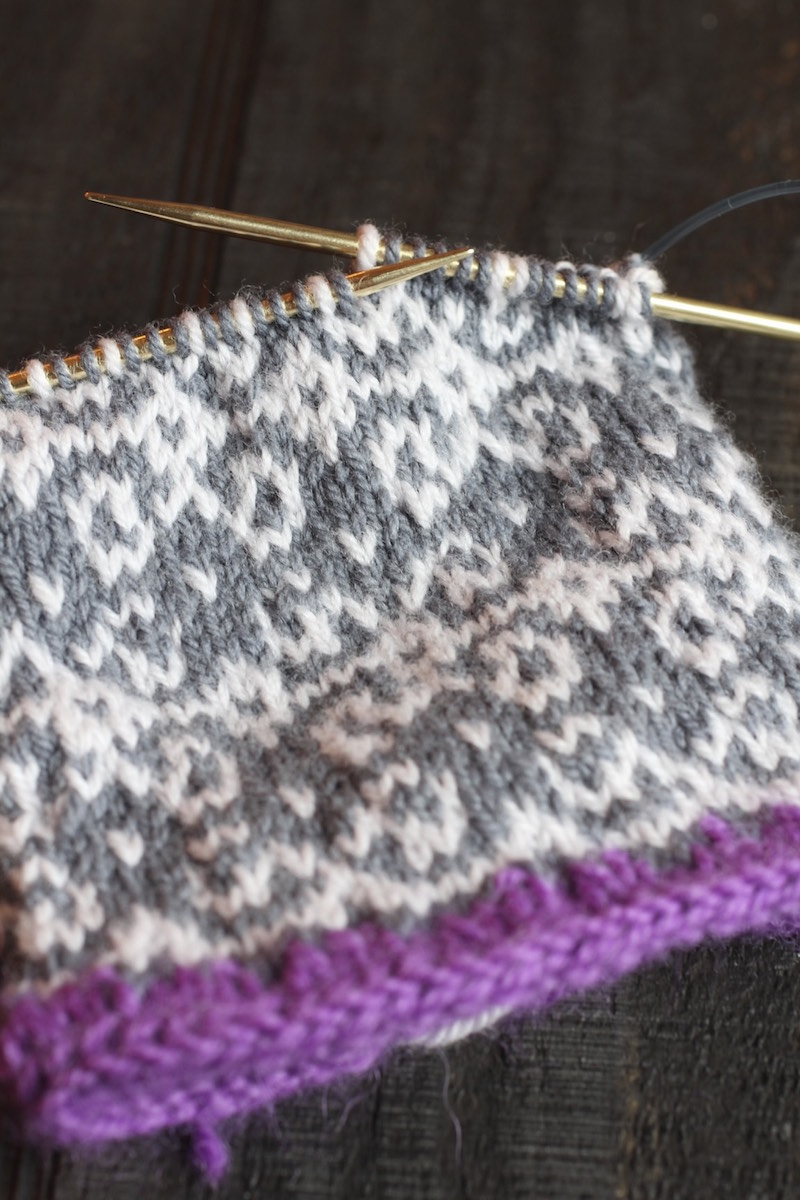
How I love this mitten pattern.  I just finished these for my future daughter-in-law’s birthday.  I love the two-color knitting pattern  and it has a lining, which makes them so warm. They took me quite a long time to knit, but were so worth the effort.

Instead of the I-cord cast on, I did a picot hem cuff, which I took from Post War Mittens.  I really like it.  And I love the contrast between the stark black and the honey/white of the mitten.

IMG_9965

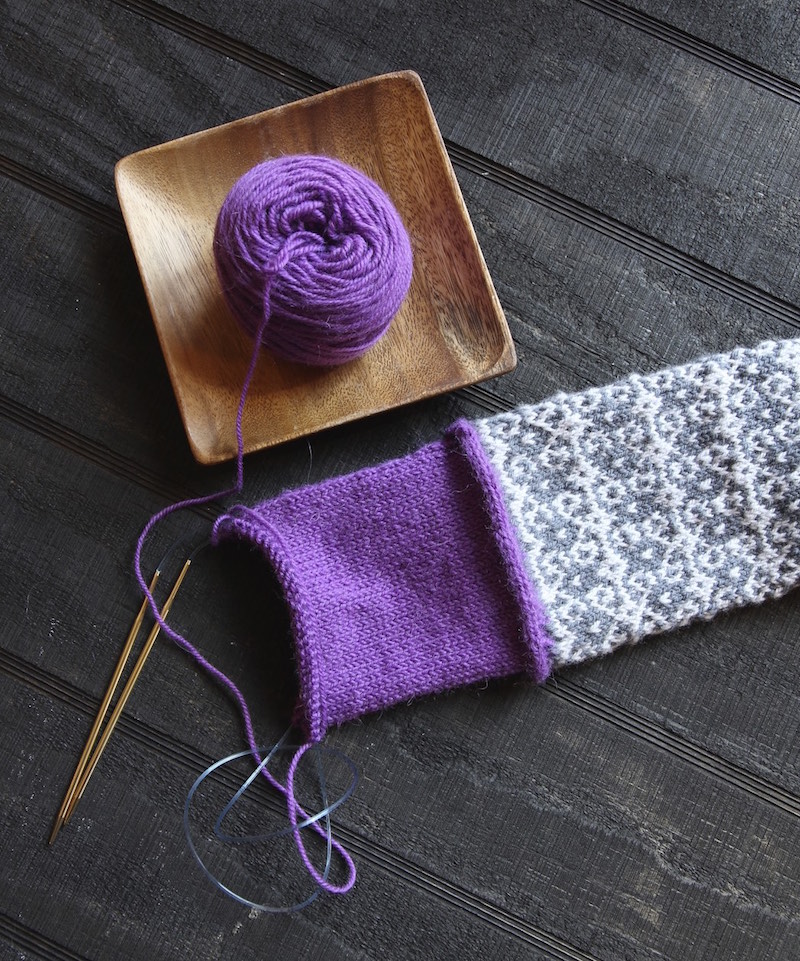
These were knit in the beautiful wool from Quince, a wonderful little company in Maine that makes U.S. yarn.  The yarn is super soft, squishy and a joy to work with. The lining is a blend of super warm alpaca/wool, Berocco Alpaca Light.  So these mittens have a good three layers of warmth!

IMG_9957

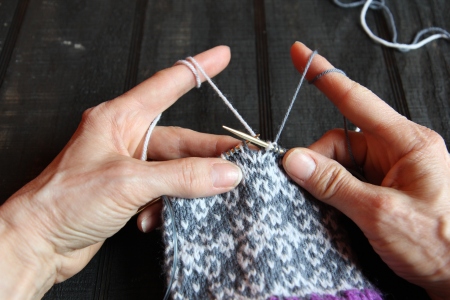
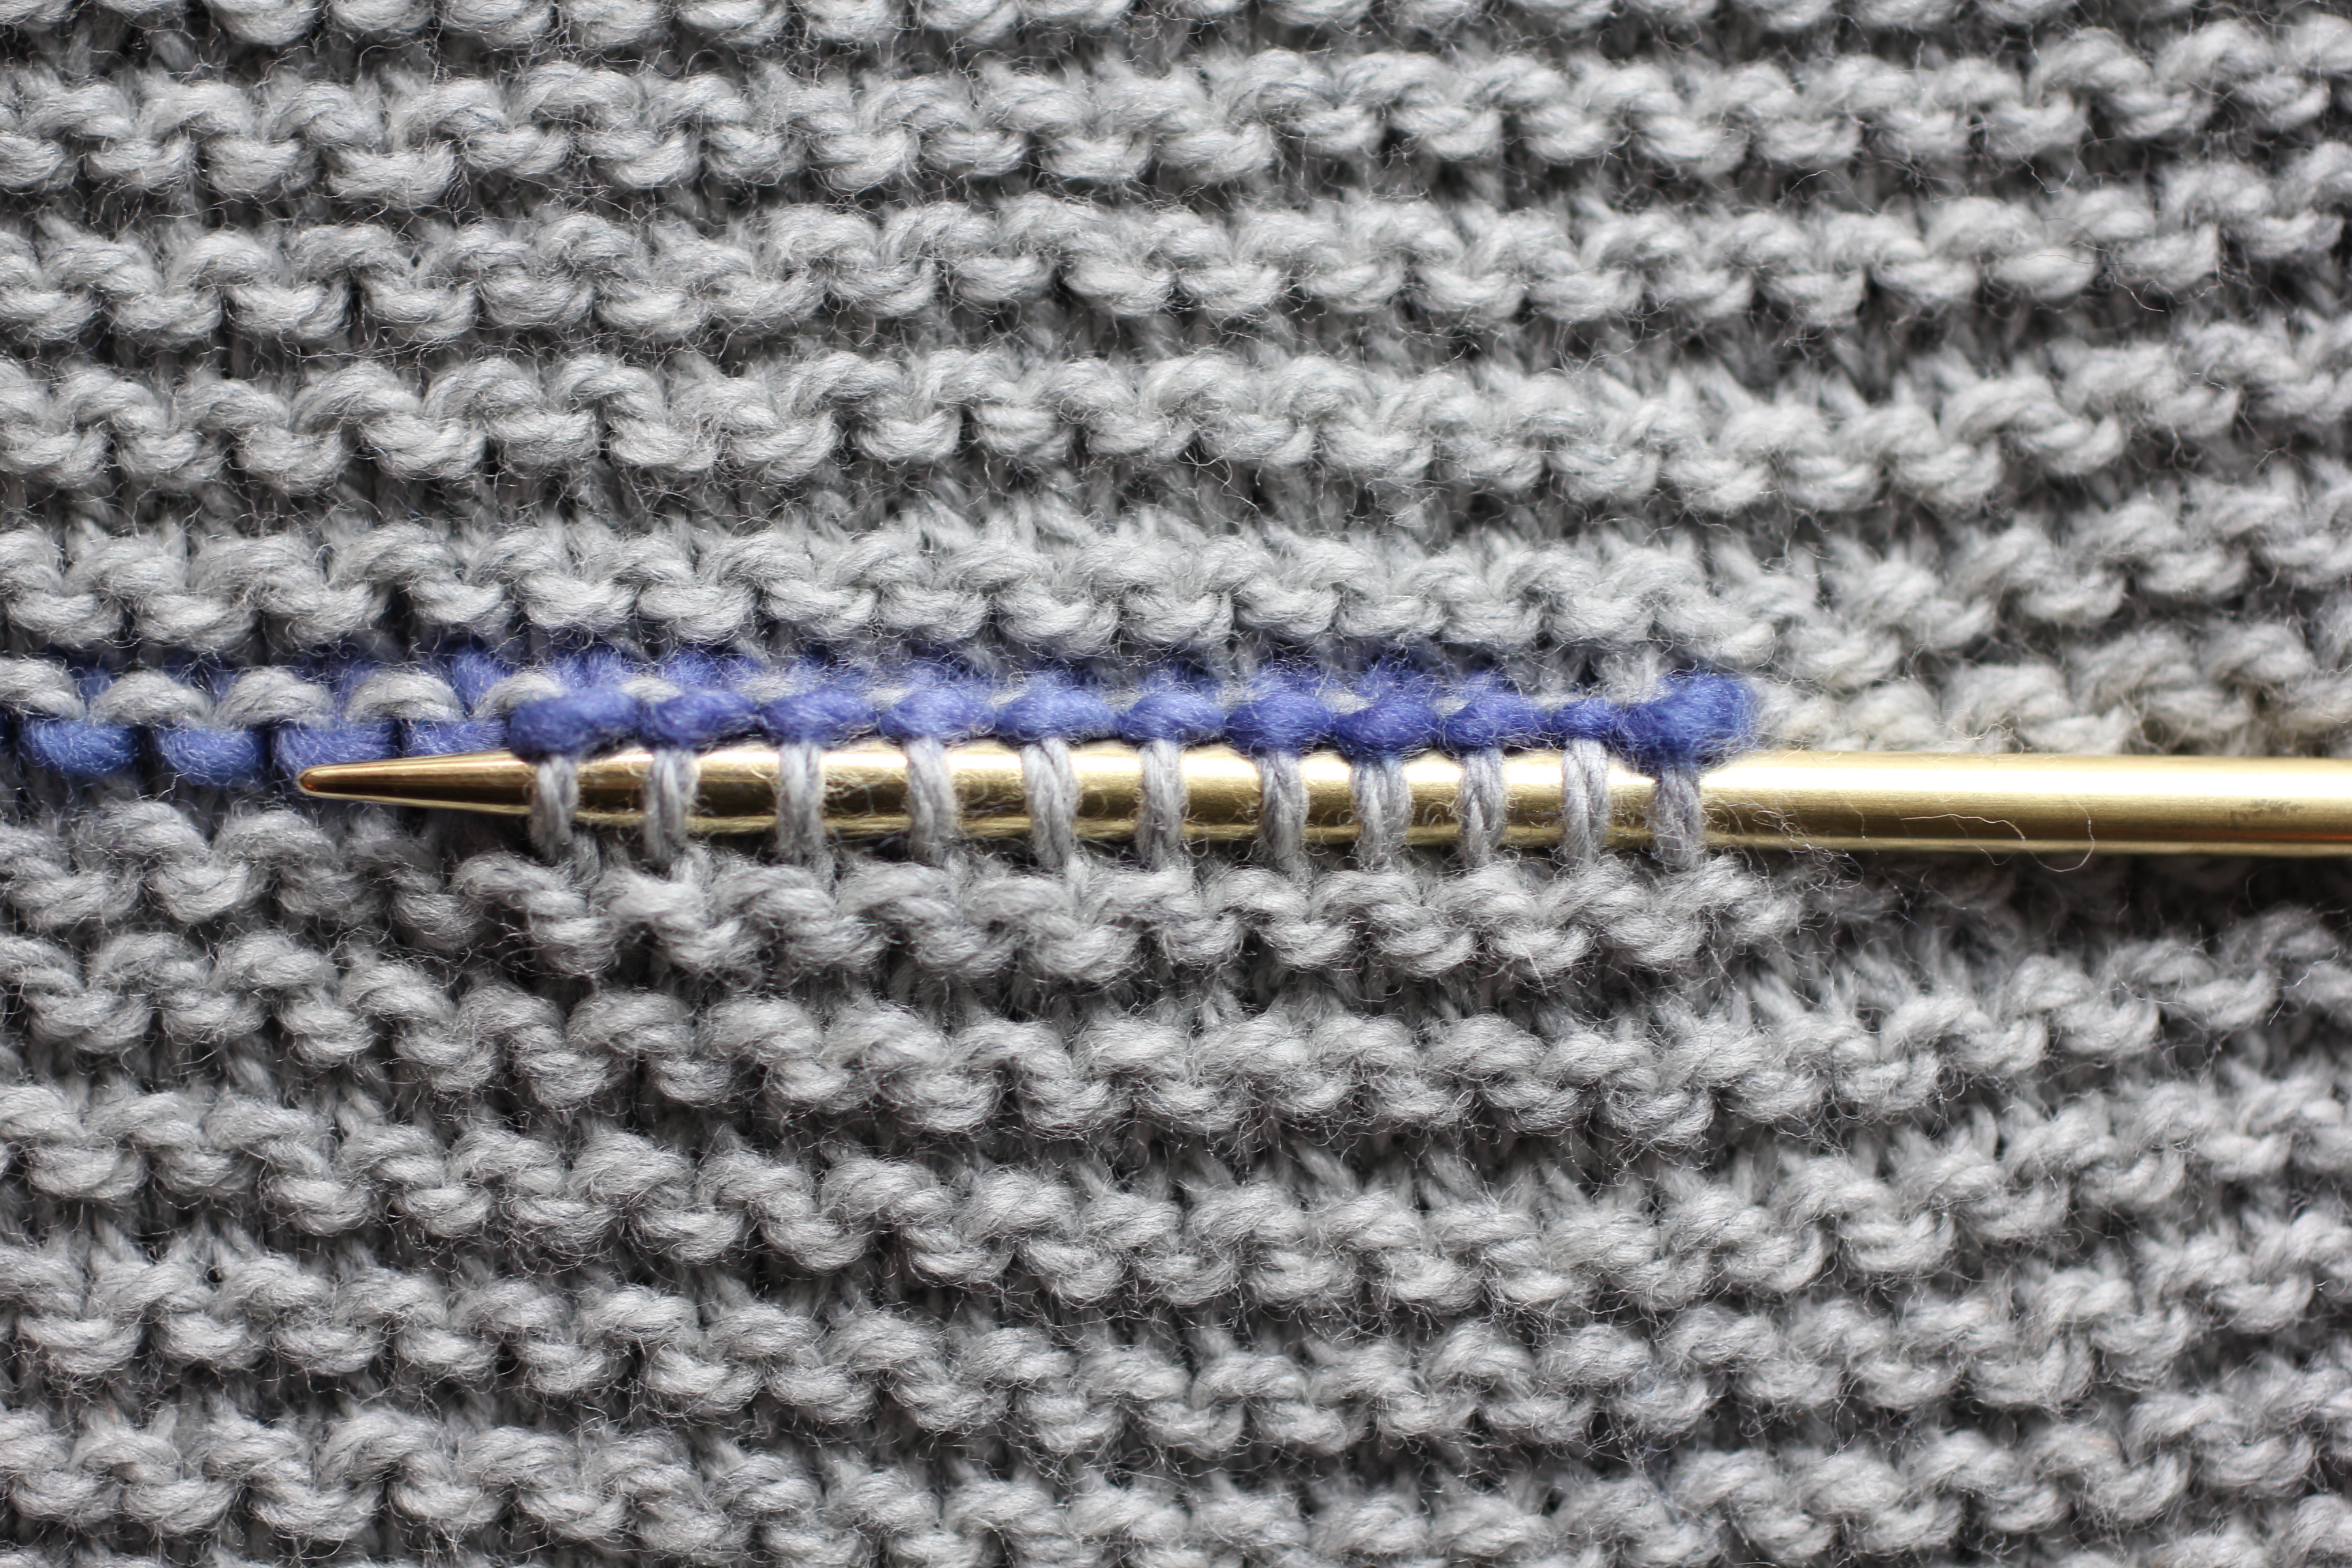
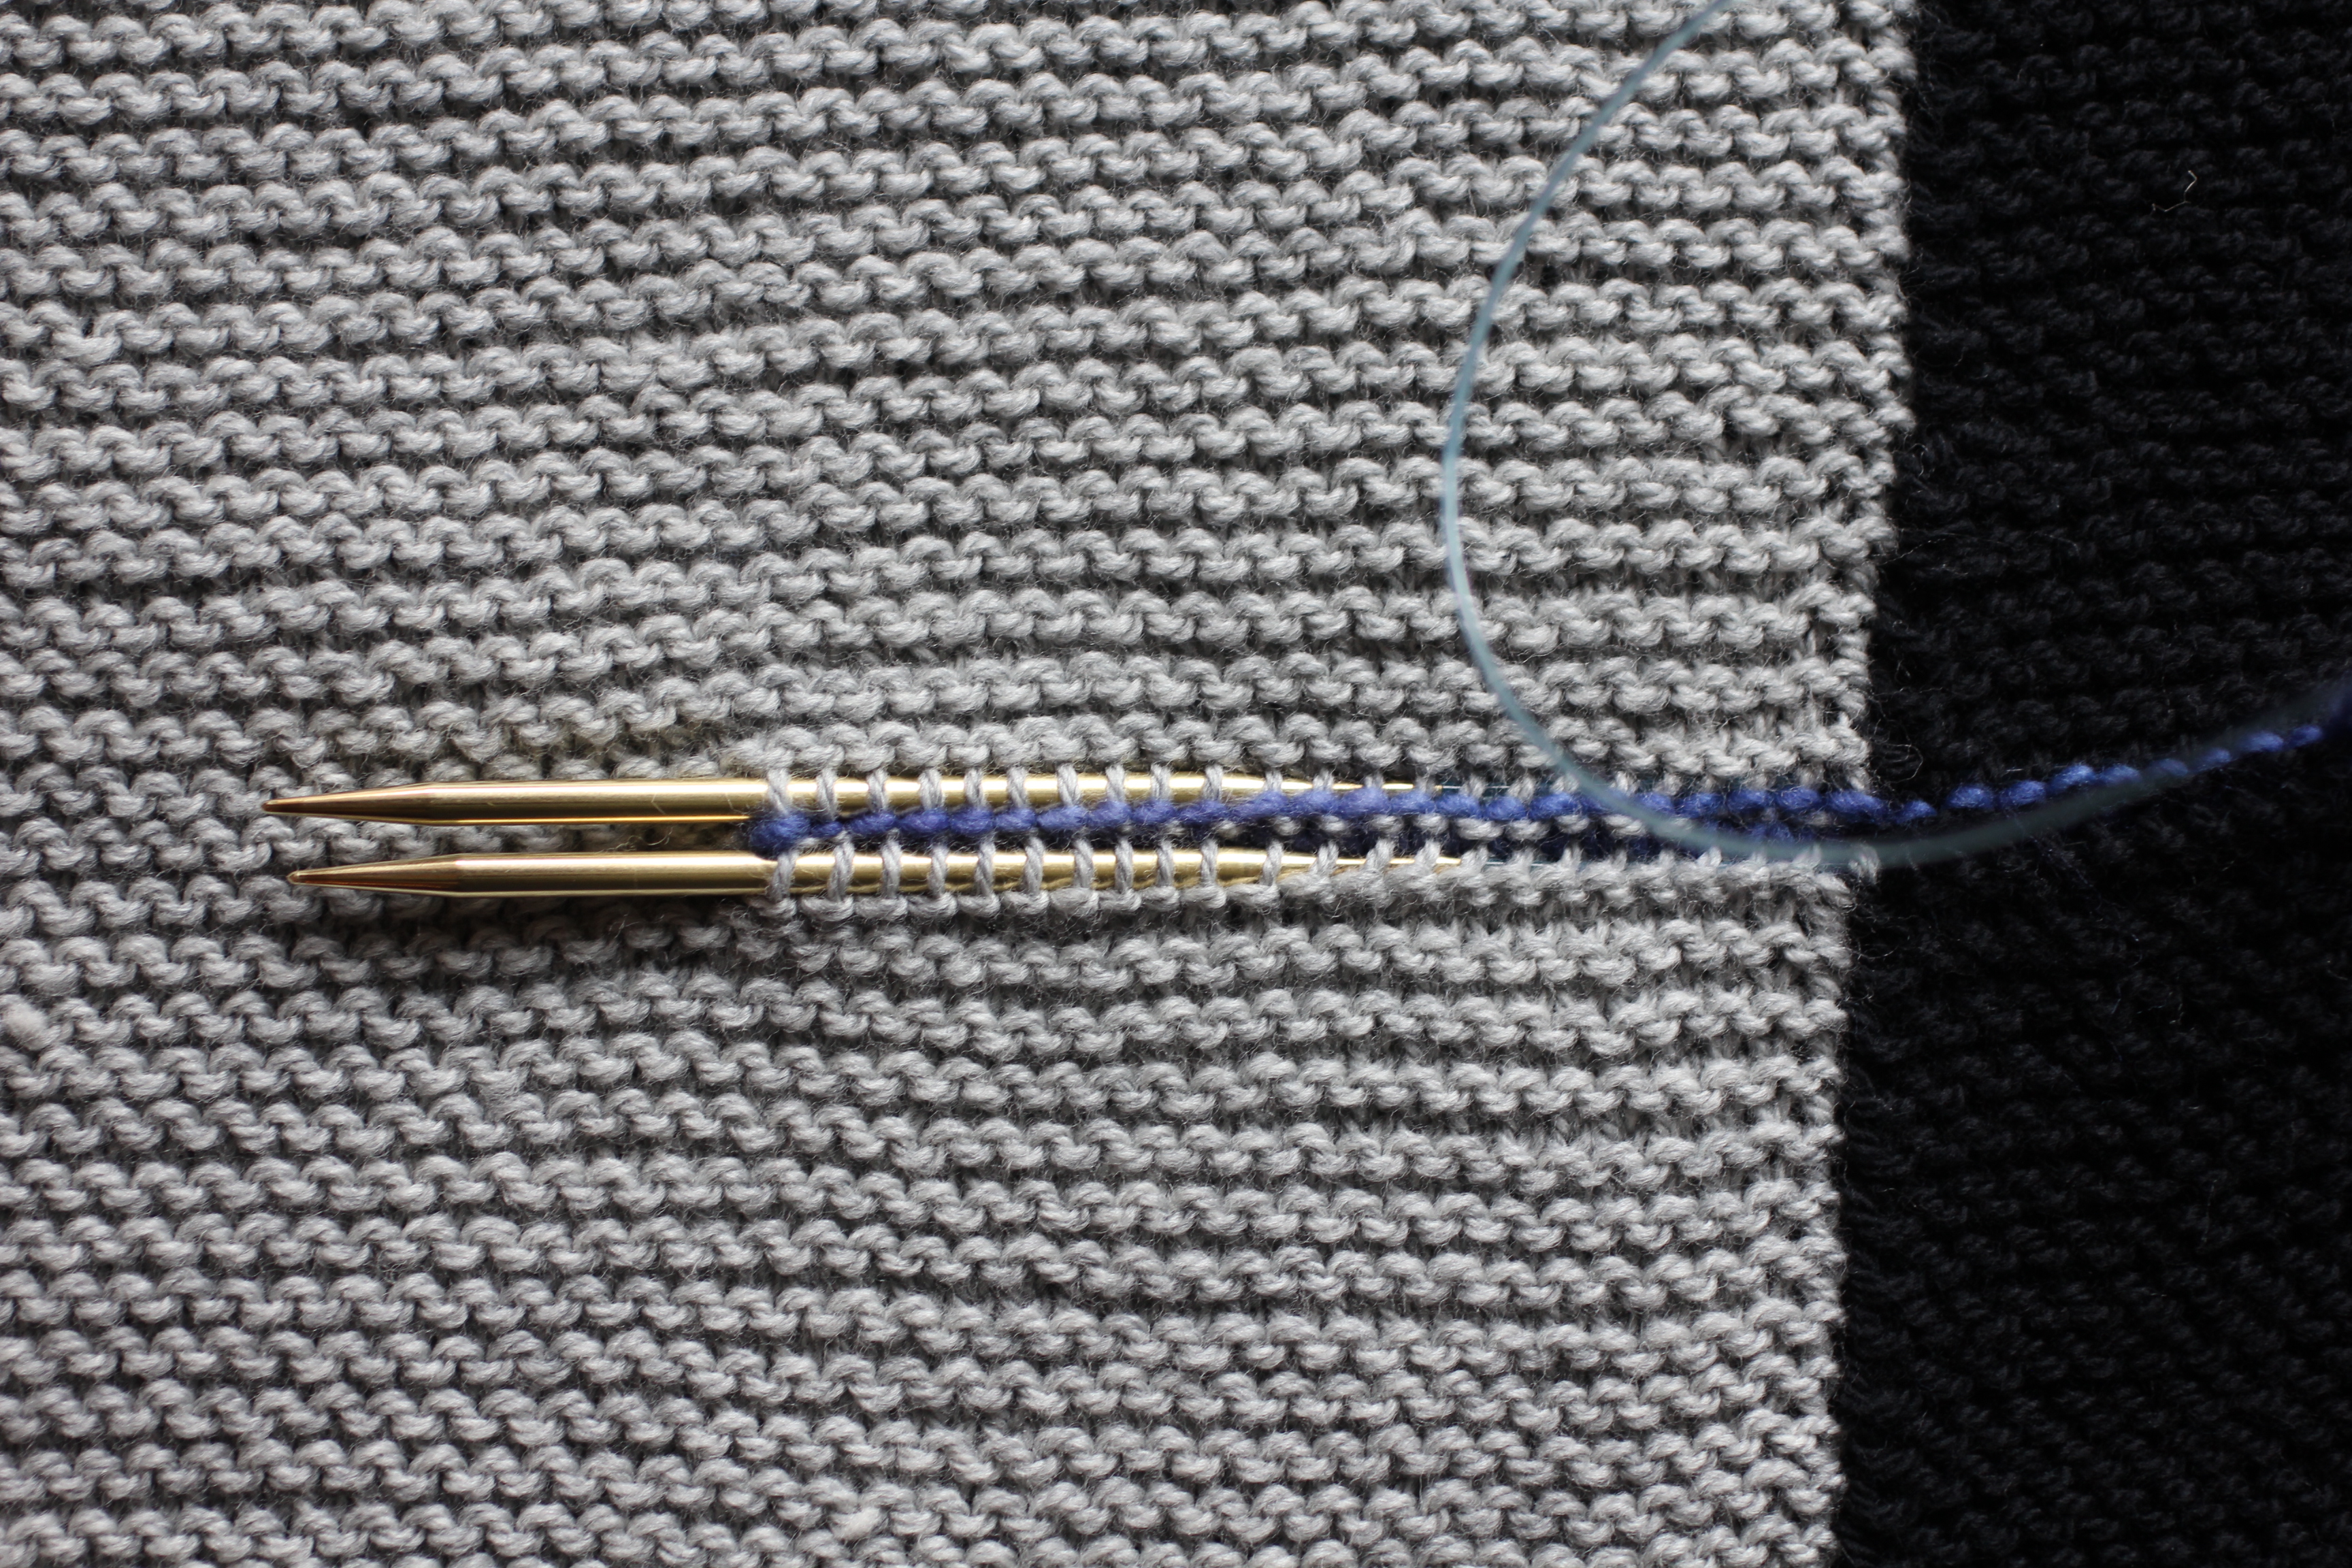
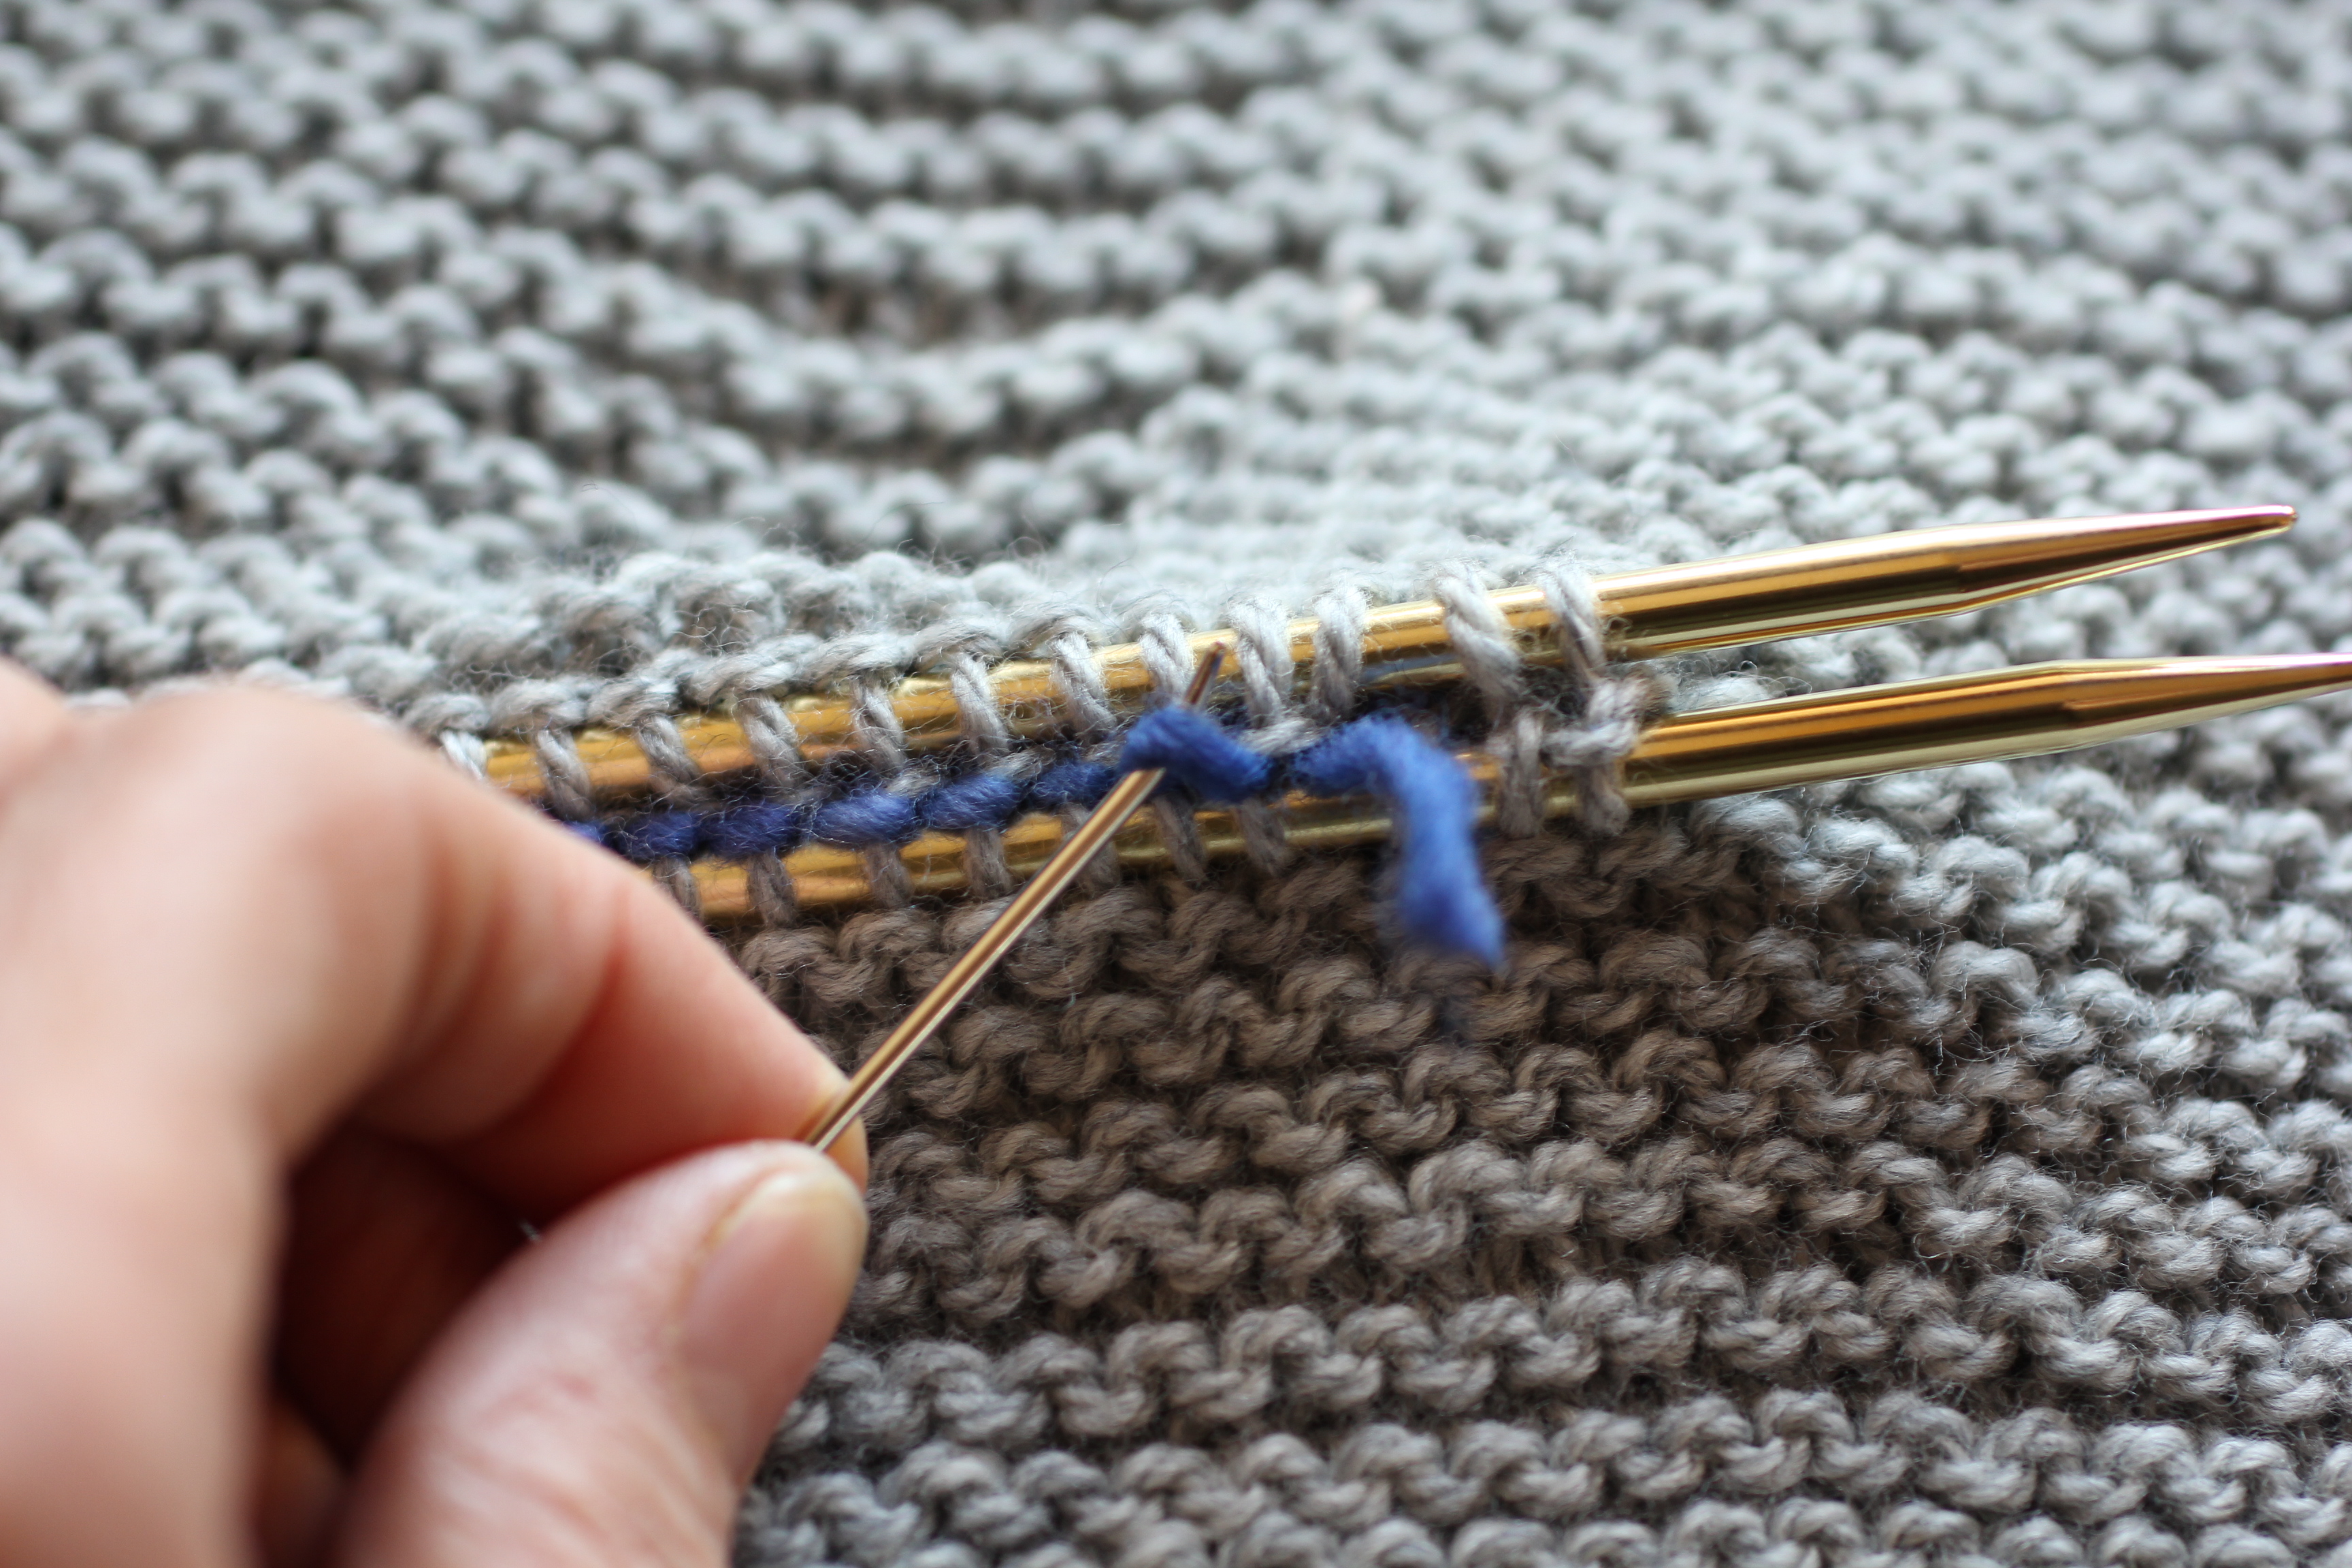
I knit them entirely in Magic Loop, which I love for mittens.  You can try the mittens on for size as you go, unlike if you use double points.  It’s also great for the thumbs.  I use Addi Lace circulars and they are so pointy that picking up stitches is a breeze.

IMG_9856

IMG_9978

Tapestry Mittens
Needles: Addi Lace Circulars #4, #2, #1
Yarns:  Quince Chickadee n Honey and Egret
Berroco Alpaca Light in Black
Ravelry Page

h1

Crocheted Jewelry Tray

August 3, 2015

IMG_9399

Here is another project from one of my favorite little places to visit on the web:  The Purl Bee.  It’s a crocheted jewelry tray and was so easy and fun to make – and quick. I loved working with that small hook and really stiff thread.  I used some of my wonderful natural linen thread from Lithuania that I got off of Etsy.  It’s sooo nice and I love the colors.  I used two different colors and held it double.

After I finished it, I sprayed it with starch, shaped it and let it set overnight.  I love it so much I may have to make the other versions – a circular and a rectangular.


Pattern:  Crocheted Jewelry Dishes
Yarn:  Lithuanian Linen, fingering and lace
Hook:  2.25 (B)
Ravelry Page

h1

Tapestry Mittens

April 25, 2015

IMG_9036

I do love a good mitten pattern and this new one I found might be my favorite yet. The Northman Mitten is right up there, though.  There’s a couple of things I look for in a good mitten pattern:  it has to have a decent thumb (either an afterthought thumb or a thumb with a gusset)  and it has to be a two color pattern.  This pattern has both and it also has a lining, which is really nice. And it was a really fun knit.

IMG_9041

This pattern is from Elinor Brown, a knitting pattern designer who I was always in awe of because she designed all these wonderful patterns and did all this knitting while attending medical school.  The pattern gives three sizes for the mittens.  I knit the Medium and I thought they seemed just right for the average woman’s hands.

IMG_9063

I chose to use Quince Chickadee for the outer mitten yarn so that the pattern had a lot of stitch definition.  It’s a 100% wool yarn.  Sometimes, in the past, when I have used a wool and alpaca blend for an outer mitten, the alpaca fuzzes up a little too much and the pattern becomes a little blurry.  But I like the warmth of alpaca so I used that for the inner mitten.

IMG_8693

IMG_8787

Two color knitting is so fun and it’s addictive to watch your pattern coming off the needles.  When I knit in two colors, I hold one yarn (the contrast color) in the left hand and knit Continental with that and I hold the other yarn (the background color) in the right hand and knit English on that side.  It took some practice to learn, but it’s natural for me now and very fast.  if you hold the contrast yarn in the left hand, it becomes dominant in the finished knitting. The background color is held in the right hand, and stays in the background.

IMG_8766

I knit all my projects in the round on circular needles using Magic Loop instead of double points.  It makes it very easy to try on the project and assess sizing as you go. Plus I hate all the double points sticking out and having to work around them.  And it makes knitting the thumbs very easy.

IMG_8813

IMG_8777

The only thing I did not totally love on this pattern was the i-cord cast on. The result just wasn’t worth the aggravation. If I knit another pair of these (and I will) I’m going to do a different kind of cuff – maybe a picot edge.

Pattern: Tapestry Mittens
Needles:  US#4, #2 and #1 Circular Addi Lace
Yarn:  Quince Chickadee in Frost & Storm and Berocco Ultra Alpaca Light in Viola for inner mitten
Ravelry Page

h1

Sideways Garter Stitch Vest

March 28, 2015

gartervestblackontop

this vest is vertically reversible!

gartervestgreyontop

If you do not subscribe to Purl Soho’s e-mail newsletter, you really should.  This great little shop in New York’s Soho neighborhood puts out an awesome mailing that includes free patterns.  That is where I saw this pattern for a vest that is done entirely in garter stitch.  It caught my eye right away, so I looked it up on Ravelry to see how  many people were knitting it and what their creative spins on it might be. One great feature of this vest is that you can turn it upside down and wear it the other way, with the contrasting color on top.  Each way gives you a different size collar.

gartervestonneedles

This was such an easy project to knit – it’s just one big rectangle of garter stitch -but it does require doing afterthought armholes, which I kind of love doing.  I’ve done a lot of afterthought thumbs for mittens and afterthought heels for socks, so I know the technique well.

You just knit a length of contrasting waste yarn across the required number of stitches, slip these stitches back to the left needle and knit in your regular yarn.  This leaves you with this contrasting yarn embedded into your piece:

gartervestafterthoughtarmholes

To make the armholes, you slip your stitches just under your waste yarn, picking up one leg from each stitch underneath:

pickingupstitchesgartervest

Here are the stitches on the needles after they are all picked up, both below and above the waste yarn:

afterthoughtarmhole

Now you can get rid of the waste yarn by just picking it out and cutting it as you go to remove it:

pickingoutstitchesforvest

Now it’s a matter of just binding off those stitches you just picked up:

bindingoffafterthought

After they are all bound off, behold – an armhole:

gartervestarmhole

It’s really pretty easy.  A lot of people on Ravelry decided not to do Afterthought Armholes and, instead, just bound off the stitches as they knitted the garment but as I understand it, this method does not make as nice an armhole.  I guess the tension can vary too much.

gartervestside

I really love this vest.  It turned out with a very nice drape – I used a Made in Michigan yarn called Shepherd’s wool that I really love.

Pattern:  Sideways Garter Vest
Needles:  US # 8 Addi Lace 40″ circulars
Yarn: Shepherd’s Wool in Pewter and Black
Ravelry Page