

This is one of my favorite projects ever. This pattern has been around for a while and I was late to the game on it. It is the Mitered Crosses Blanket that Kay Gardiner made for Japan tsunami relief a couple of years ago. There are over 900 project pages for it on Ravelry. I loved this pattern so much and really loved making it. One of the best things about this pattern is that the project, up until the time that you assemble all the blocks, is very portable. I took these squares everywhere with we while I worked on them.
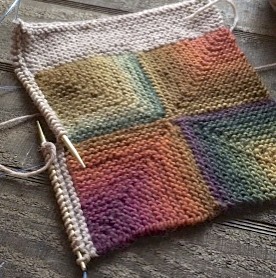
I changed quite a few things from the original pattern, though. The original called for mitered crosses, of course. I decided I didn’t want to do the crosses and did squares instead. I really like the way they turned out. The squares are super easy to make and after a short time, you don’t even need the pattern. There’s no counting of rows – yay! – you just have to remember to do the decreases on the right side and none on the wrong side. Just make sure you have a stitch marker to mark your corner, where you do your decreases.

I also did not use Noro Silk Garden for two reasons: I feel it’s a little scratchy and it’s very expensive. So I searched and found a striping yarn that substituted very nicely – Crystal Palace Mochi Plus. The colors in Mochi Plus were stunning and it was a hard decision on what colorway to use. I loved Lake Trail and Leaves & Sprouts but eventually settled on Autumn Rainbow because I started this in the fall and the yarn exactly matched the colors I was seeing all around me. The yarn stripes slowly, which I really liked for this. It is a one-ply yarn so it could be a little felty. For the background color, I used Cascade Yarns 220 Heathers in Doeskin Heather.

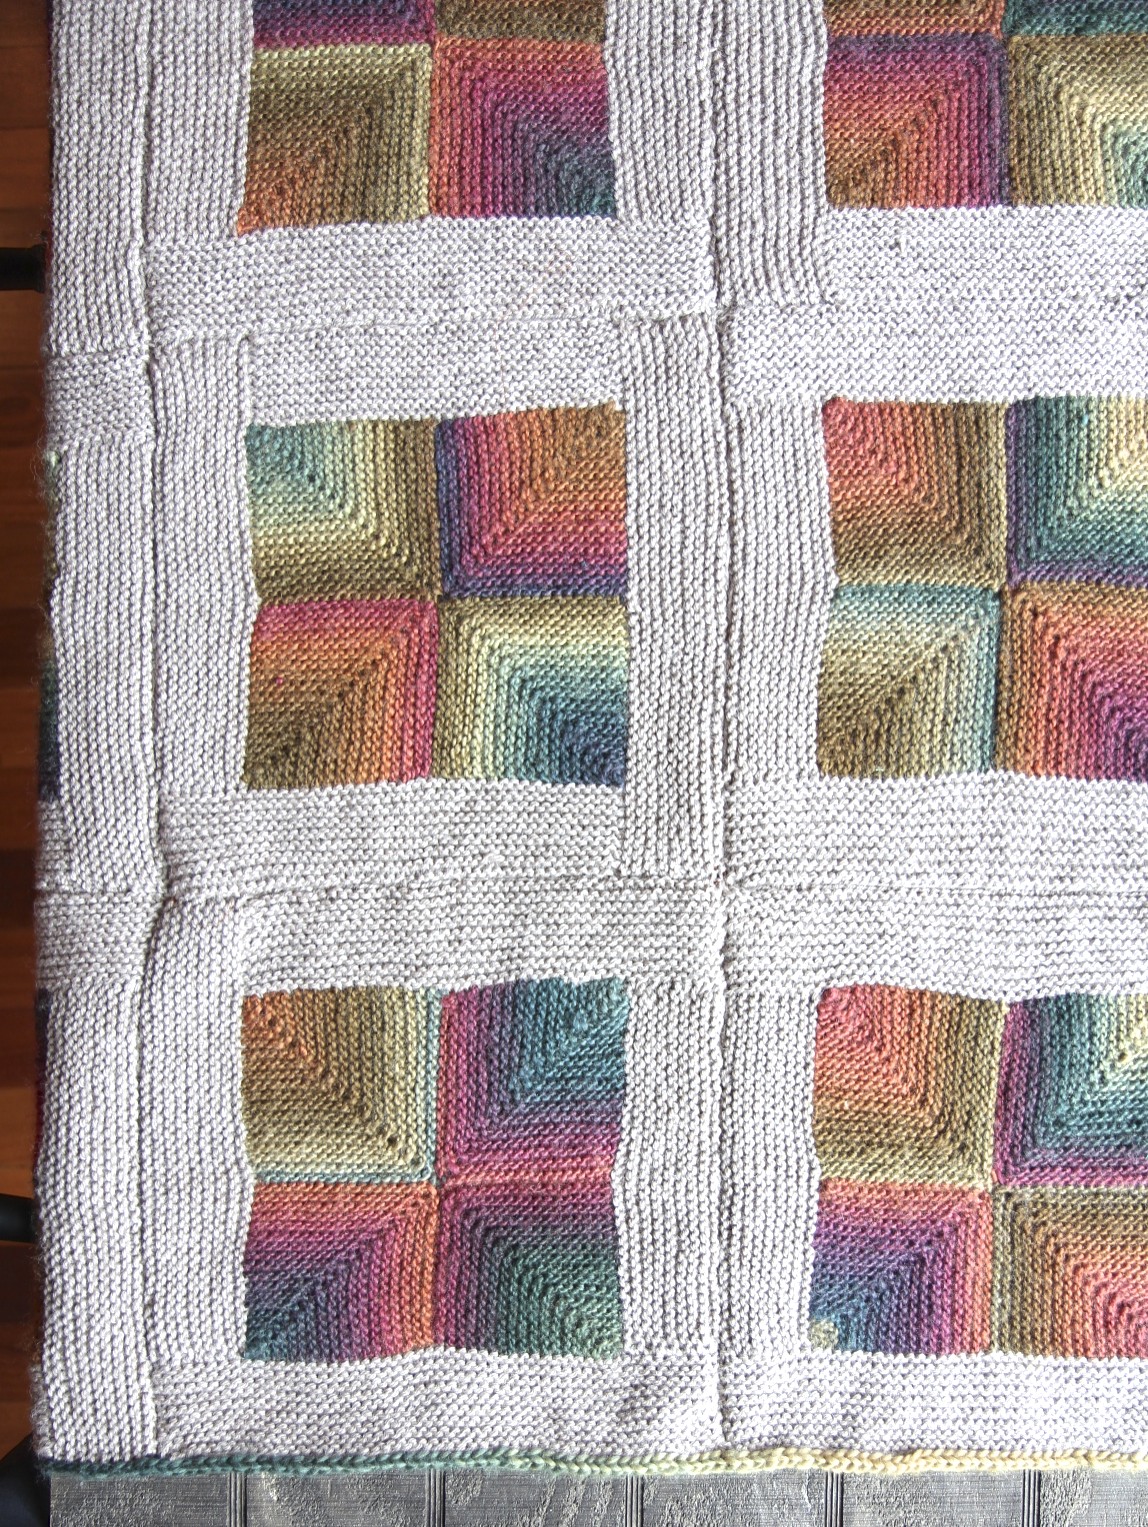
I blocked all the squares first before I sewed them together. And I did sew them together. I did not do the three needle bind off. I just thought that sewing them together would be a lot faster. If you want to do the three needle bind off, be sure to read Kay’s post about how she did it.

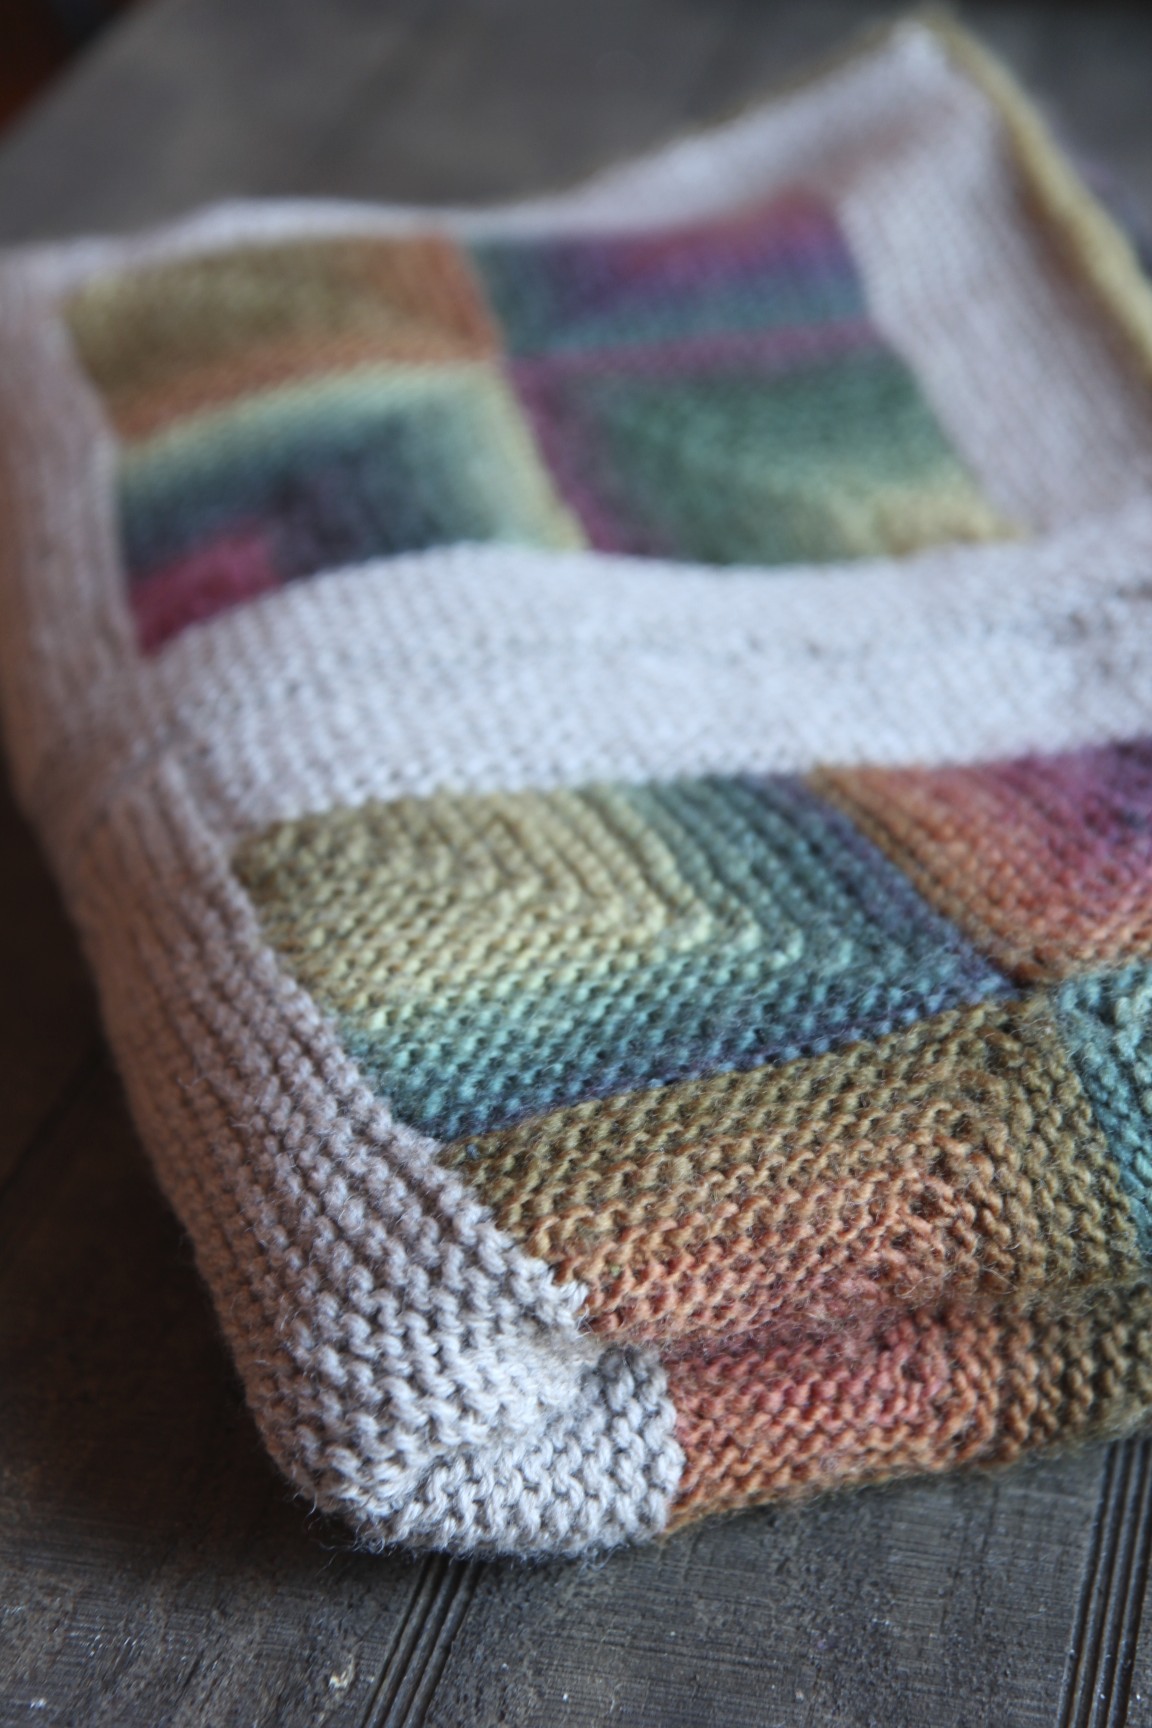
The i-cord edging takes a while to do but it is SO worth it. It really finished the throw. I did the edging in the striping color instead of the background color, which the pattern called for, and I really think it adds something. It took me several days to do it, just working a little bit on it every day. Some people are intimidated by the thought of i-cord but it’s so easy. Here is how you do it:

you start out with three stitches on your needle (left). With the left
needle, pick up a stitch (right). Knit that stitch.
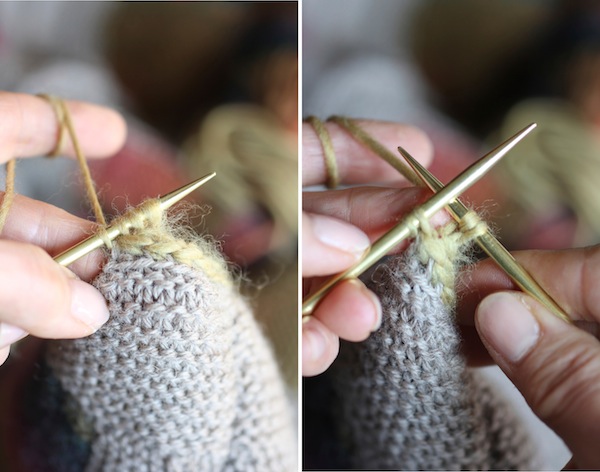
You now have four stitches on your needle. Transfer all those stitches
over to your left needle (left). Knit the first two stitches (right).
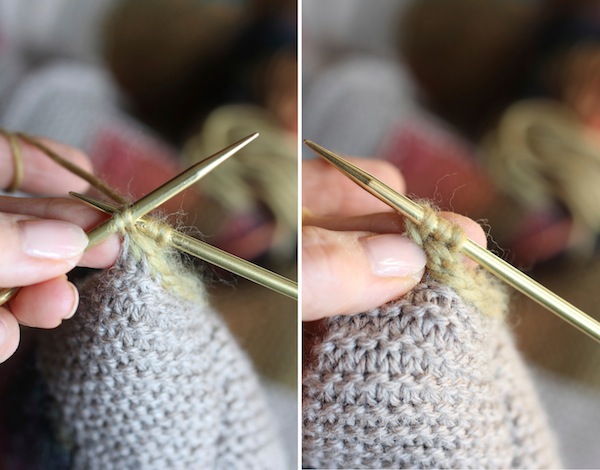
Knit the last two stitches together, through the back loops (left).
Now you have three stitches again. Repeat. Easy!
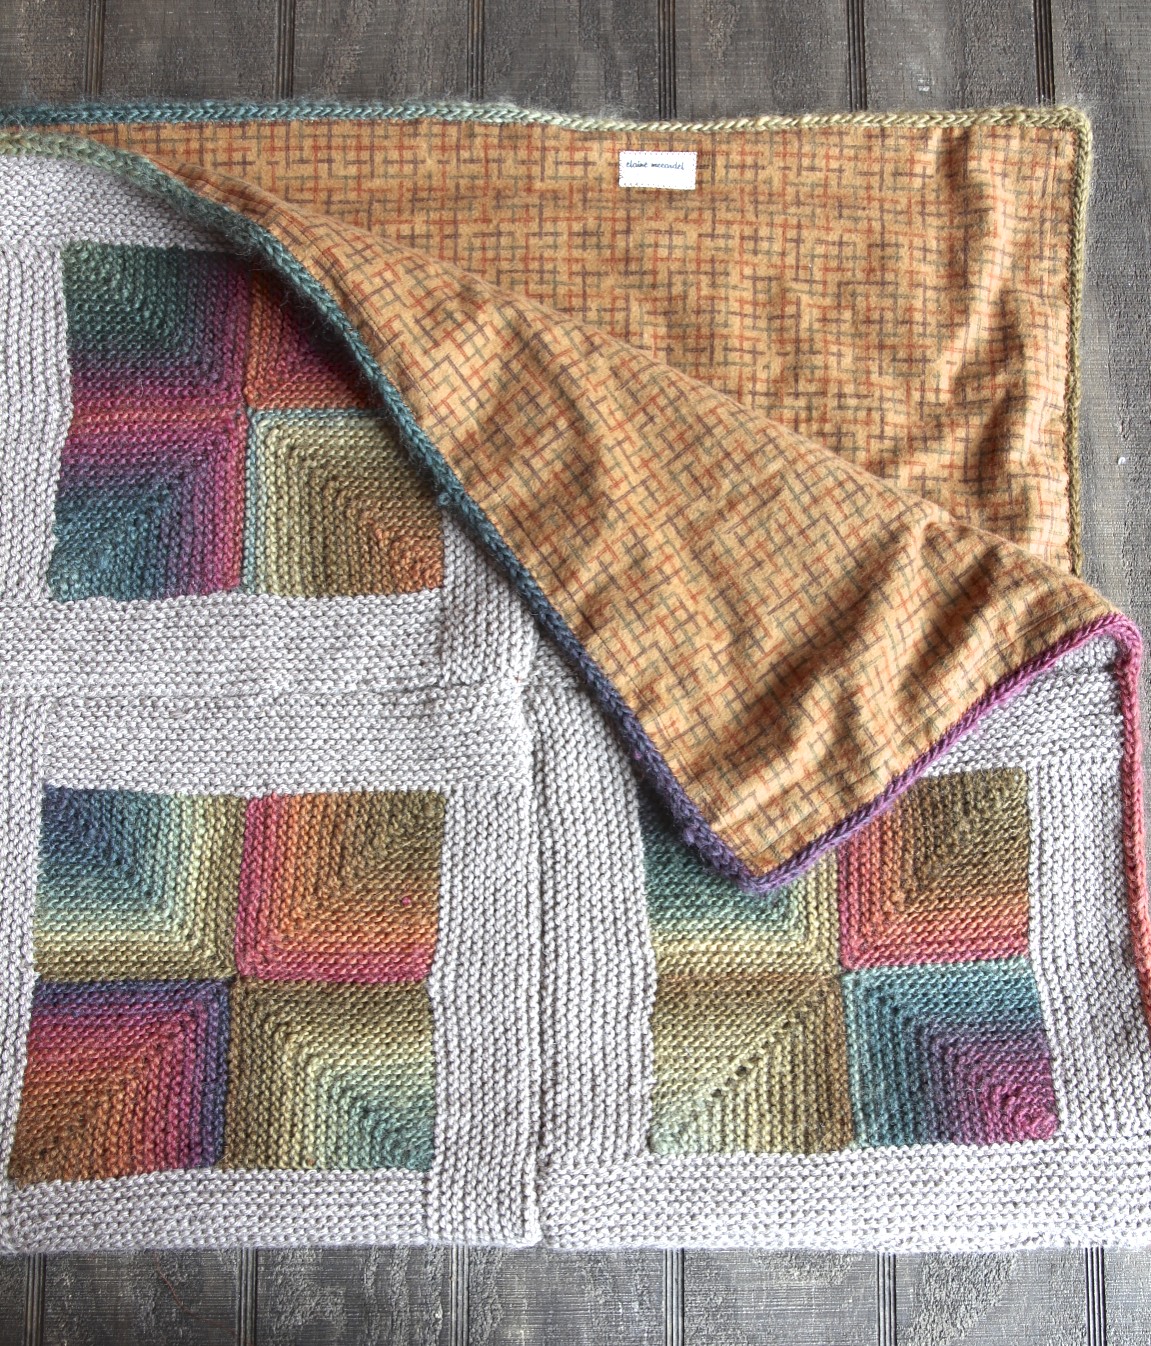
After I finished the edging, I decided the “wrong” side of the throw was so unattractive I wanted to cover it up. Plus, I felt the throw needed a little bit more structure. So I decided to add a flannel fabric lining. I wasn’t sure how to do this – I knew I could cut the fabric, hem it on my sewing machine just fine but then I wasn’t sure how to attach it. This post from TECHKnitting helped me a lot. It’s about how to use an overcast stitch by hand so that the stitch gives a little, which is required because of the stretchy nature of the knitting.

the overcast stitching shows but it is still
preferable to doing a blind stitch because
it gives ease to the knitting

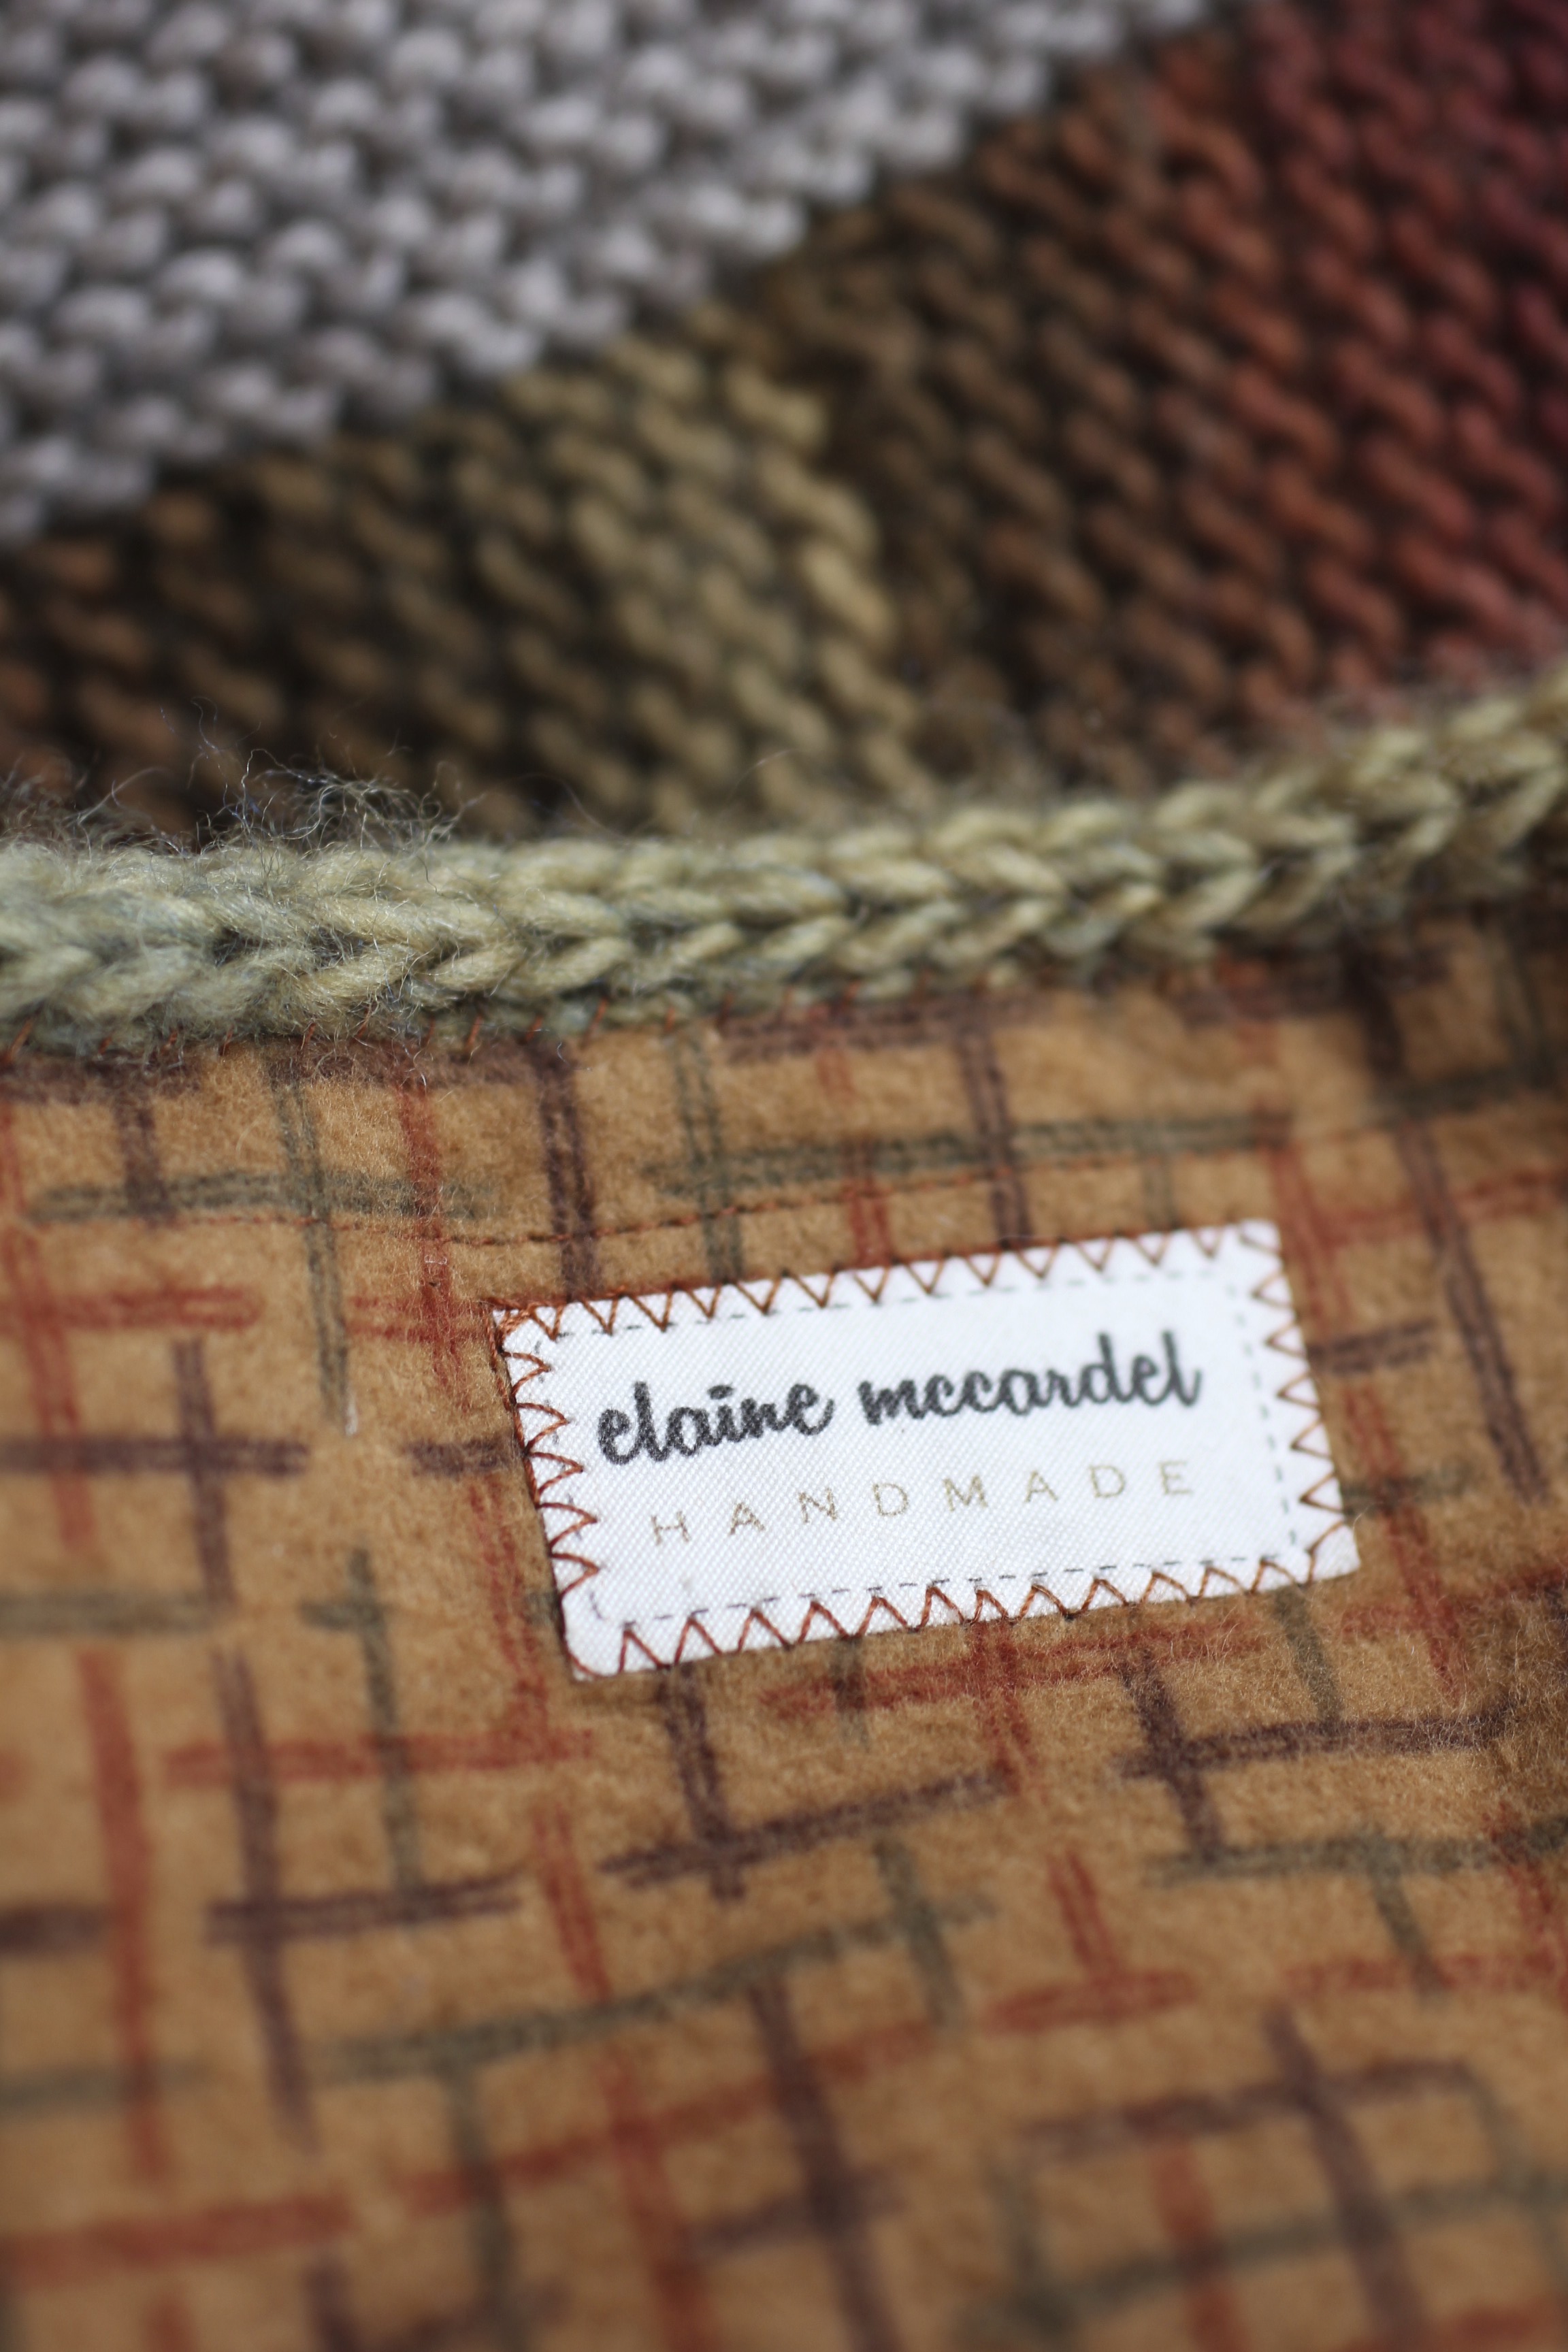
name labels from
Ananemone Etsy shop
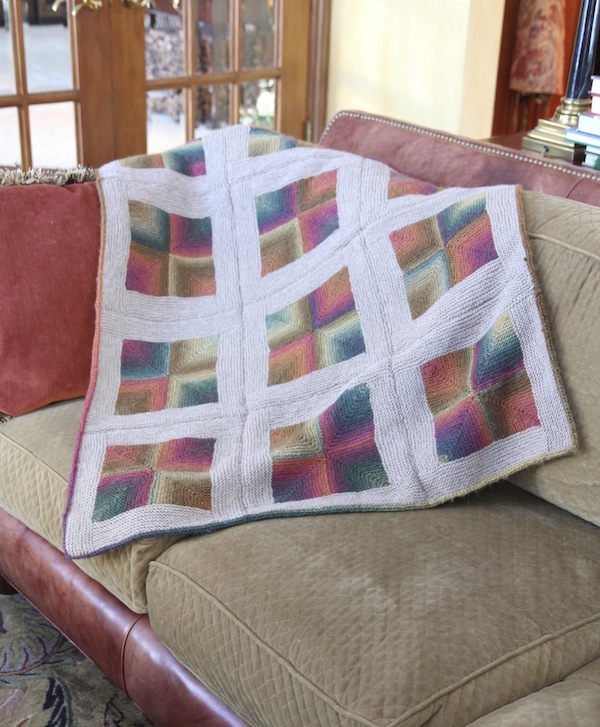
The finished blanket is about 44″ x 33″. Each block is about 11″ square. I did 12 blocks so it’s not a huge blanket, but rather just a nice throw to put over your lap. Between the 100% wool yarn and the flannel, it’s pretty toasty.
Pattern: Mitered Crosses Blanket
Yarn: Crystal Palace Mochi Plus in Autumn Rainbow
Cascade Yarns 220 Heathers in Doeskin Heather
Needle: #6 Circular Addi Lace
Ravelry Page


